
Rock Polishing At Home
It all started out with a free rock polishing kit. I’m part of a “Buy Nothing” Facebook group where people give things away they no longer want/need. The kit came with the tumbler and enough polishing powder for one batch of rocks. I polished my first batch of rocks over the course of about 7 days and they turned out pretty cool! The main downside was the polisher was extremely loud so we had to keep it in the garage.

This post contains Amazon affiliate links, I may earn a small commission at no cost to you if you purchase through these links
I thought rock polishing would be such a fun preschool/homeschool activity for years to come, but I was out of polishing powder. I did some research online and ended up buying 4.5 pounds of rock polishing powder and ceramic pellets. I was set! Until the VERY next time I used the free rock polisher the rocks banged holes in the plastic and it leaked ALL over the place. (See the duct tape in the picture above). I tried to fix it with duct tape several times but it kept leaking.
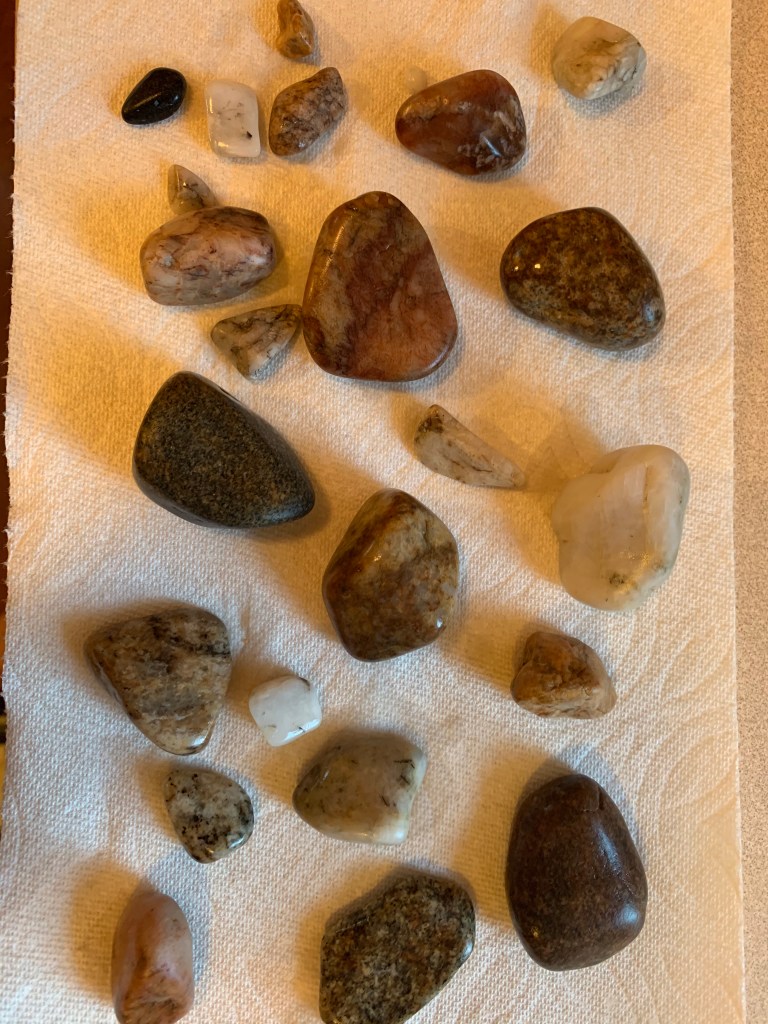
Now I had over $20 of polishing powder but no rock tumbler…so I did more research online and ended up getting this National Geographic Hobby Rock Tumbler Kit. Now I’m really committed to rock polishing (haha!). The kit comes with some unpolished rocks and some polishing powder to start with. Here are pictures of the rocks that came with the kit:


The rocks included in the kit were obviously more colorful than the ones we find laying around our yard. I know you can buy more unpolished rocks from Amazon if you wanted to do more of those type of rocks. The main reason I wanted to get the polisher was to collect rocks when our family does trips! Hopefully as a family we will be able to learn more about the different rock types (and which ones polish better!)

To polish the rocks we fill up the tumbler about 1/2 full of rocks, add about a tablespoon of polishing powder, then just cover the rocks with water. The tumbler spins them around for about a week, then we rinse out the rocks and add the next step of polishing powder. The grit goes from coarse to ultra-fine, finishing off with aluminum oxide.


I’m interested to experiment to see if longer polishing time would lead to shinier rocks or if I need to put some sort of glaze on them? Either way, this is a fun project for homeschool kids!
Also just your friendly reminder that it is against the law to remove anything from National Parks. It comes with a hefty fine – so do your rock collecting outside the parks! 🙂
