
I don’t know what the deal is, but summer is finally here in the PNW and Slip and Slides (and kiddie pools for that matter) seem to be sold out everywhere! I looked at three different stores with zero luck this past week and the cheapest one I could find was either $50 or wouldn’t arrive until September!
This summer is so special because Oliver is FINALLY allowed to play in hose water and outside in the dirt after transplant. Last summer, he was able to go in the kiddie pool, but we had to hand fill it up bucket-by-bucket from our kitchen sink to make sure the water was filtered and drinkable. This summer we can turn on the sprinkler and let him run outside like a regular toddler! We still have to be really careful with keeping him out of the shade or with sunscreen on but other than that he is free to run!

After a quick google search, I realized we would be able to make a slip and slide ourselves for much cheaper than the ones I was finding online. We had attempted to use a blue camping tarp a month ago for a slip and slide and it was a huge fail. Even though we have a pretty decent size hill in our back yard, the tarp was way too textured and not slippery at all.

Here is what you need for a DIY slip and slide:
- Plastic Painter’s Drop Cloth (I got a 3.5 mil thick 10x25ft one from Lowes)
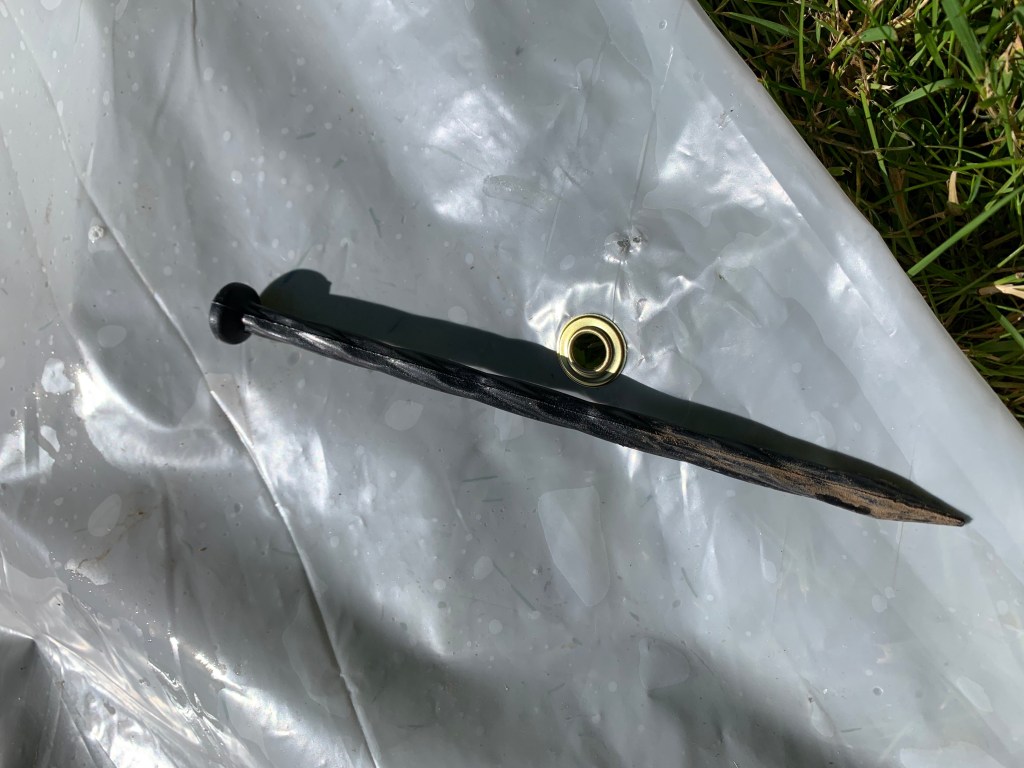
- Plastic Stakes
- Pool Noodles (optional)
- Metal Grommets (optional)


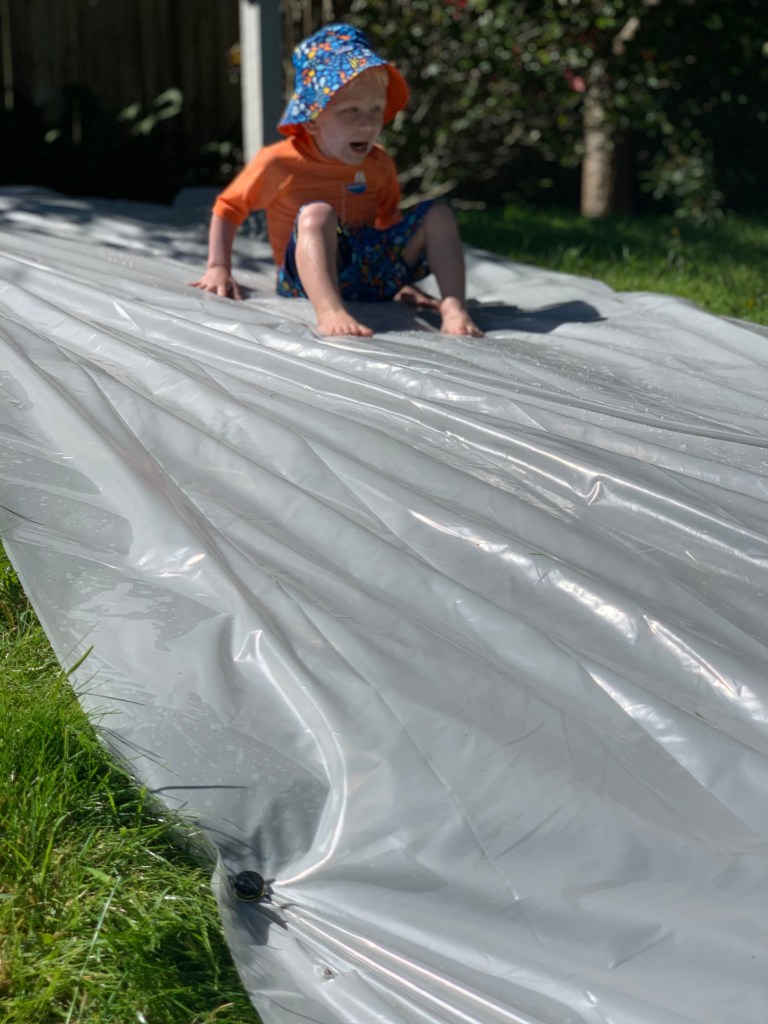
I folded the plastic painter’s drop cloth in half so it was double- thick and spread it out down our hill. They sell plastic drop cloth that is thinner and cheaper but I would be worried about it ripping. The 3.5 mil we got seems really sturdy for our kids. It cost about $12 for the roll.
I anchored the top with pool noodles on each side and put the plastic stakes through them. It would be great to have pool noodles all the way down on both sides but they were $1.75 at Lowes and I know you can get them from the dollar store so I wasn’t willing to buy more than two for right now.
Seth installed metal grommets where the stakes went in so the plastic will not rip and we can use the slip and slide over and over again!

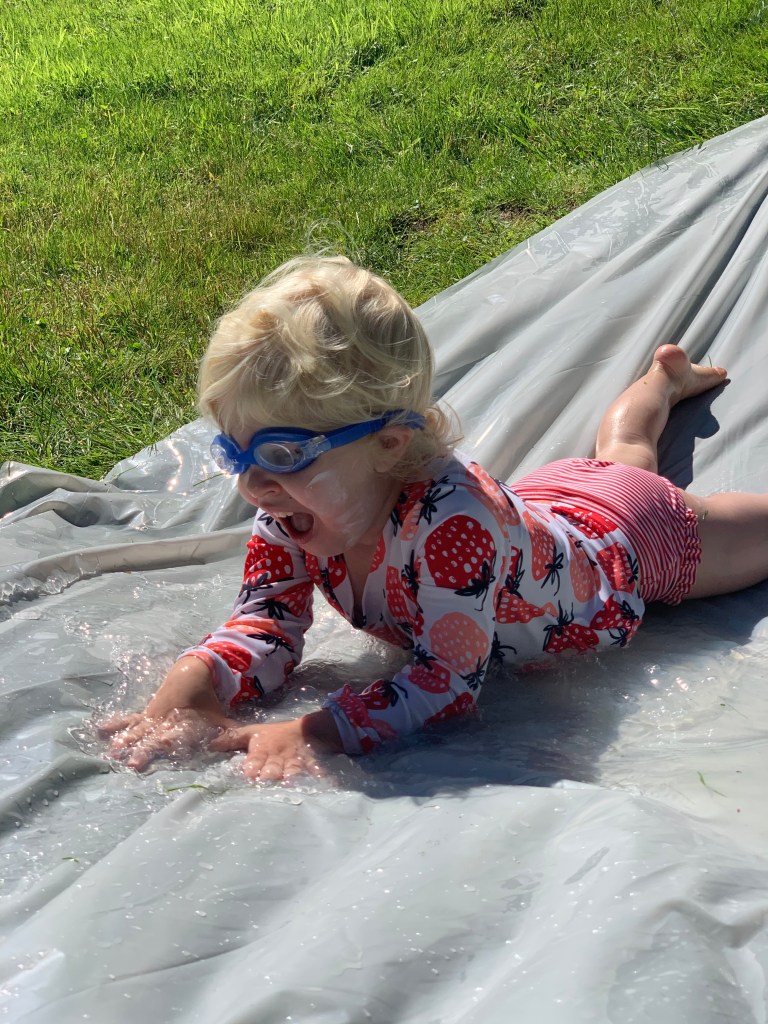
If you have a flat yard you could just add a squirt of soap to make the slide more slippery! Our kids tend to be more timid than daredevils so they didn’t want the slide too slippery. Haha! We put the sprinkler on low right at the top of the hill and it was the perfect amount of water!
Let me know if you end up making one of your own slip and slides! I just love summer!

Cute pictures of Eliza and Oliver! Your slide is so creative! Why pay more? Enjoyed your blog, Kara.
LikeLike
Oh it is SO wonderful to see Oliver playing like children is age! Sister keeping up! You are in my daily prayers.
LikeLike